
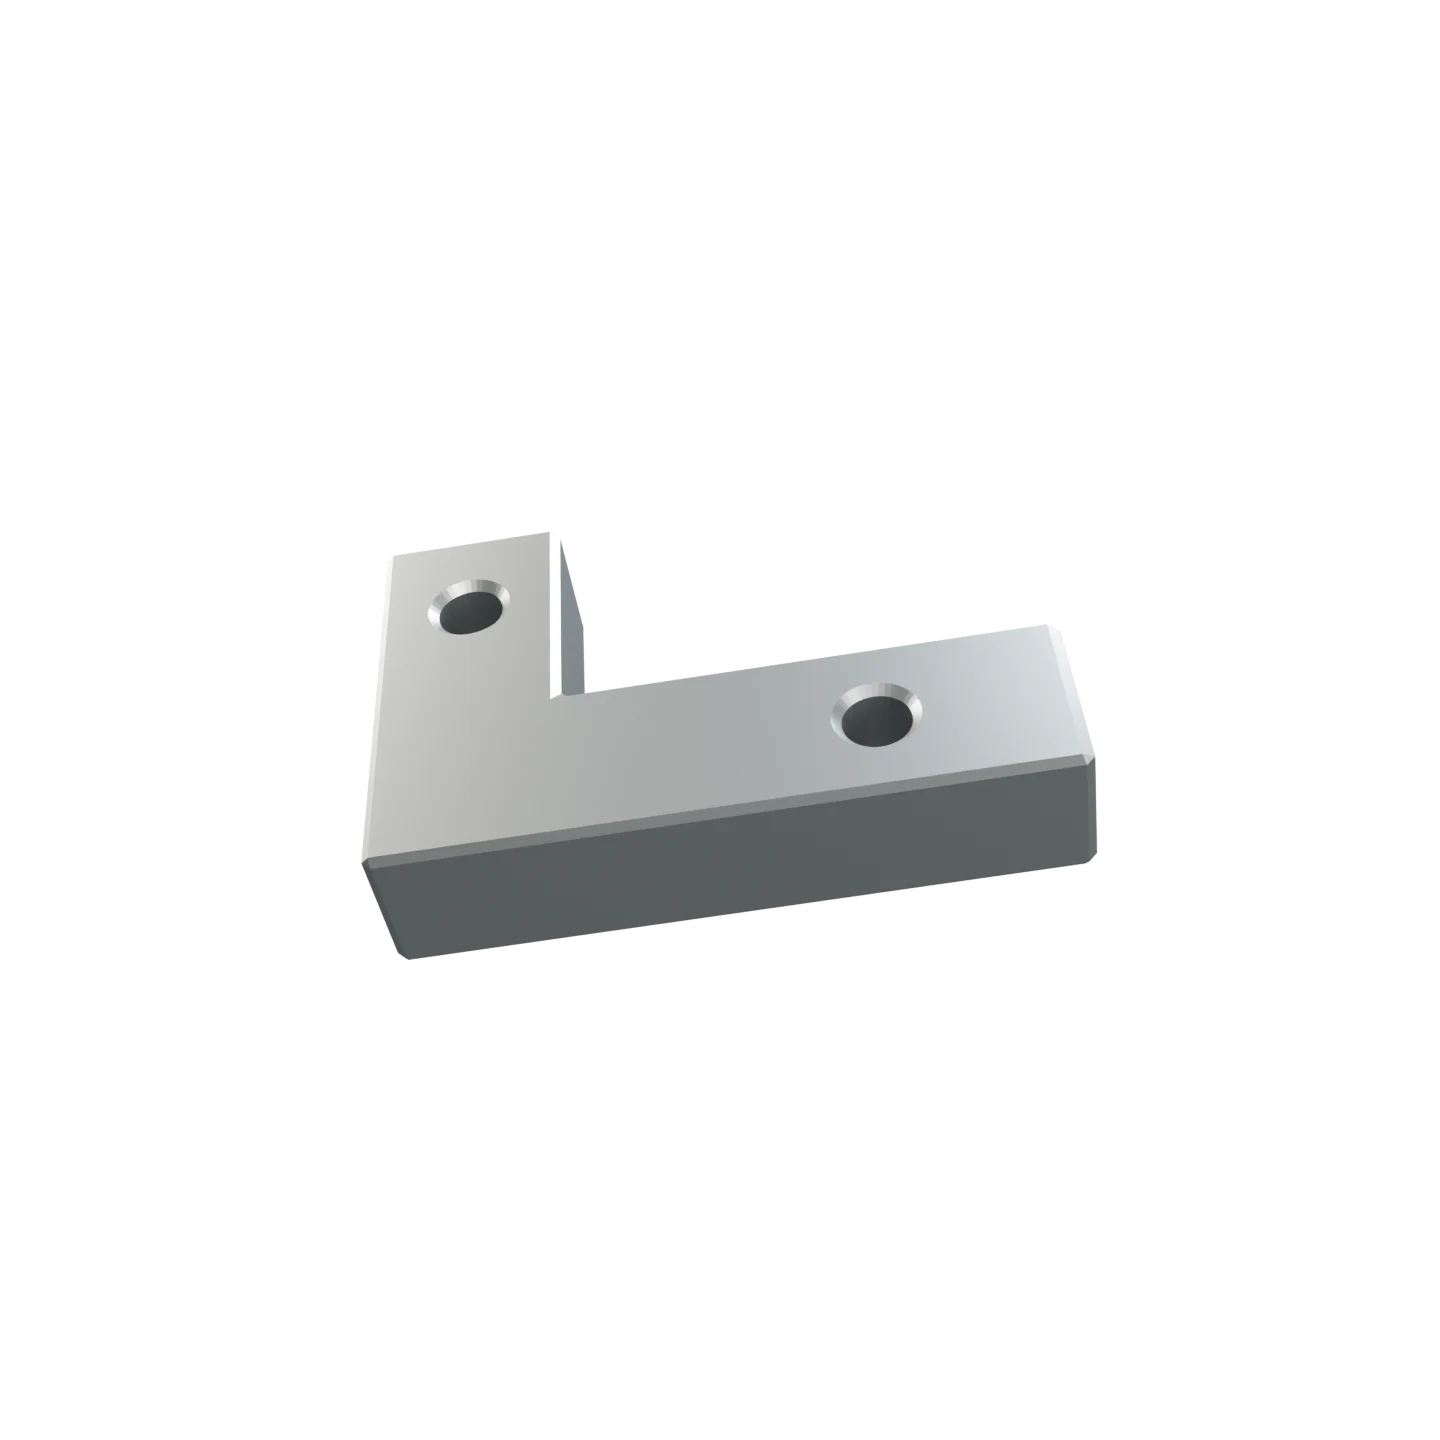
Plan packaging from part file to purchase order.
Optipacker is packaging optimization software for industrial parts. Compare packing layouts and costs. Review the design. Carry a better-informed choice into purchasing.
No signup is needed for the example.A part holds
more possibilities
than a box.
Start with your part. Explore how the parts sit together, compare containers and inspect the space between them.
Explore the productThe layout.
The economics.
The next step.
Bring packing configurations, packaging investment and purchasing into one shared workspace. See the commercial case alongside the physical one.
Good decisions
take shape.
Inspect the layout. Review the generated design. Move forward with a packaging choice your team can work with.
See a recorded exampleSee the fit.
Before you commit.
One industrial enclosure. Three box sizes. The standard box fits all 12 requested parts in the recorded result.
- Input part
- 120 × 80 × 60 mm
- Selected box, inside
- 400 × 300 × 220 mm
- Recorded capacity
- 12 of 12 parts
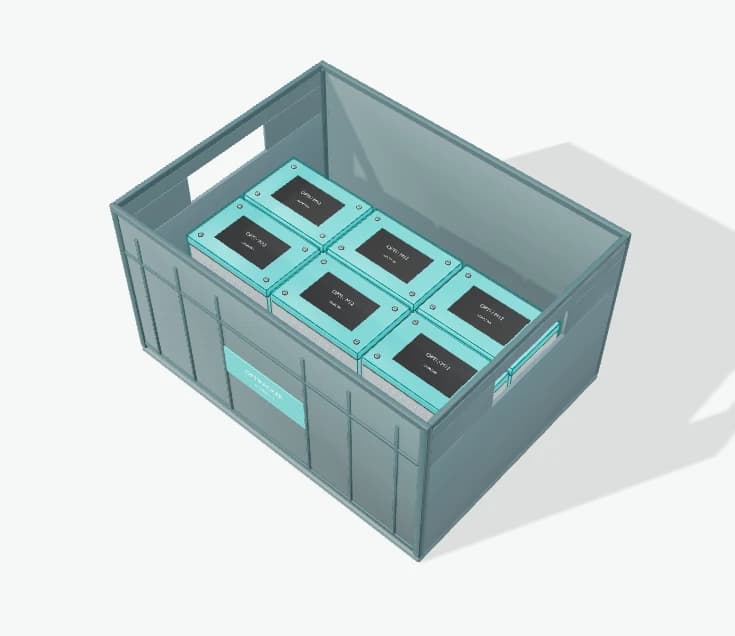
Same parts. Same box. A different way to find space.
Could your box
fit more?
Watch two robots pack in a single-layer experiment. Compare geometry with recorded Jev AI results across six synthetic scenarios.
Project packing uses bounding boxes.
Geometry and all three recorded Jev trials fit seven parts in this fixture. Explore the layouts and measured timings in the lab.
Run the comparisonInteractive 3D experiment. No signup required.One base mold.
Made for change.
A tool insert shaped for your part.
We are developing a pilot in which a standard base mold holds a replaceable cavity tool insert to form a product-specific tray.
The tool insert belongs to manufacturing; a protective packaging insert sits with the product. Available mold sizes, tooling cost and lead time are confirmed with the manufacturer for each pilot.
Discuss a pilot- Base mold
- Tool insert
- Formed tray
- 01
Define the part and volume
Start with part geometry, quantity and the available packaging choices.
120 × 80 × 60 mm · 12 parts - 02
Compare layouts and costs
Inspect calculated placements and capacity, then model the commercial case.
2 layers · 12 of 12 placed - 03
Review and carry forward
Review generated design artifacts and connect approved choices to purchasing.
STEP · STL · PDF · DXF output for inserts that Optipacker supplies
A clearer
next step.
What can I try now?
The public packing example lets you change part shapes, dimensions and quantities and compare three box sizes without an account.
How is pricing discussed?
We scope software use and any physical pilot to your packaging volume, engineering work and order terms.
What does design review cover?
Engineers inspect the generated tray or insert design before manufacturing release. Tool design and CAM need a separate manufacturer handoff.
How do I calculate ROI for a returnable container loop?
Enter the parts per year, the parts per container, the containers per pallet, the cycle time, the loss rate and the costs in the free returnable container loop calculator. It shows the container pool, the investment, the annual saving against single-use packaging and the payback. Read the worked example of pool size and payback and the comparison of software for returnable container loops.
- GuidesPlan Container Packing From an STL Part File
- ResearchShape-Aware vs Bounding-Box Packing: Measurements on Real Parts
- ComparisonsPackaging Planning Software That Uses Part Geometry: 2026 Comparison
- ComparisonsOptipacker vs PackAssistant: Which Packaging Planner Fits Your Process?
- GuidesHow Many Boxes Fit on a Pallet? A Step-by-Step Method
- BusinessDimensional Weight: Review Box Size Against Your Carrier Terms
Show us
the part.
Tell us the decision you need to make. We will prepare a tailored software demo or discuss a reusable mold pilot. See our packaging services or learn about the team.
Request a tailored demo